How to build your own Twitter bot in less than 20 lines of code
How I used Ruby and Serverless to build a twitter bot within 30 minutes
In my last project, I used Zappa and Python to deploy and sell my API on RapidAPI. This made me think if I could do something with Serverless and Ruby so that I have hands-on experience with them. I was looking at some of the sample projects on the Serverless website when a twitter bot written in node stood out.
Taking inspiration from the same, I decided to create a bot that would tweet haiku at a regular interval. Let's get started.
Step 1: Set up a Twitter application
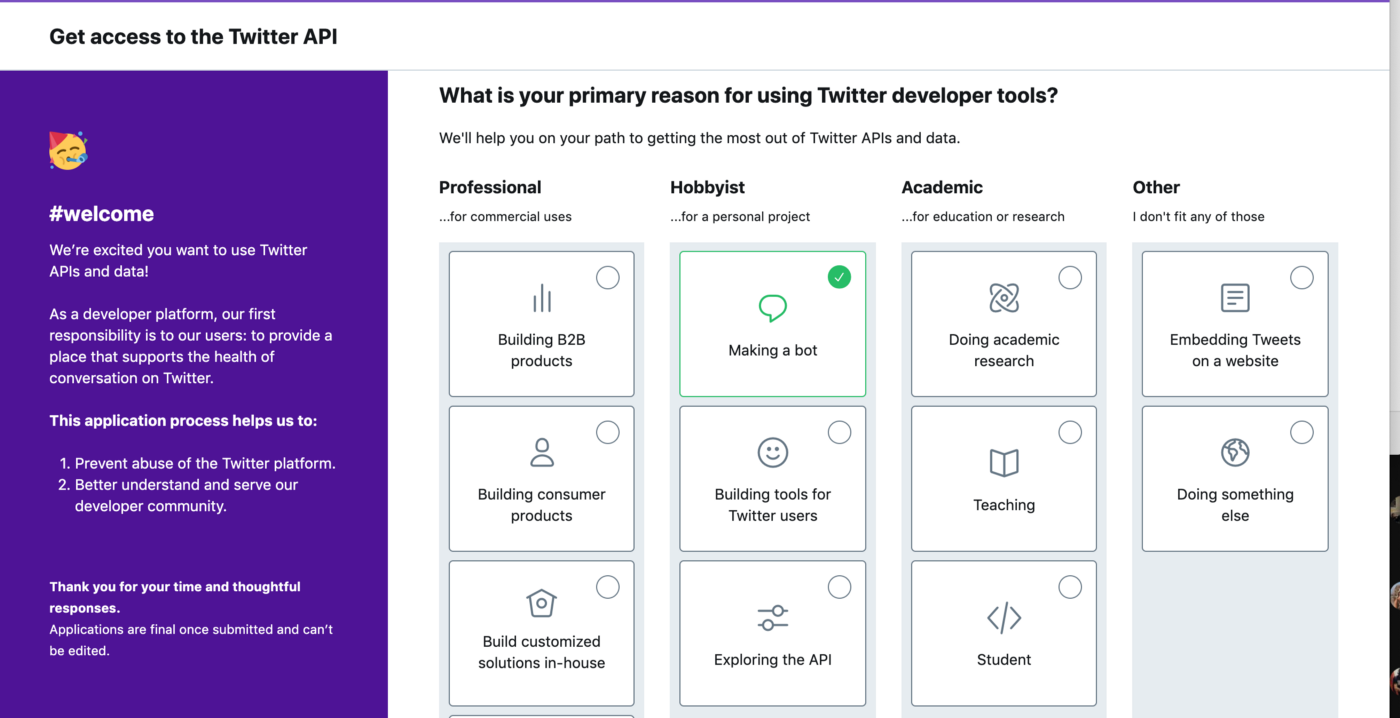
Head to https://developer.twitter.com/en so that you can create an account and get access to twitter APIs.

Twitter Developer Portal
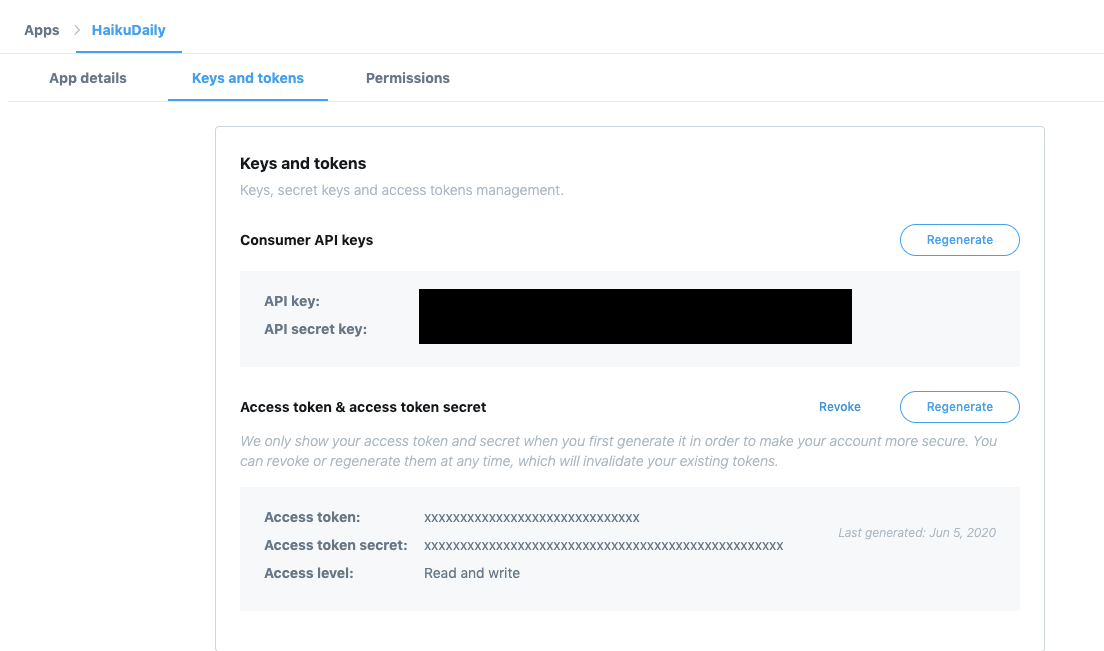
Twitter does ask a lot of questions and as long as you fill in reasonable answers, you will get through. Once you have filled the form, create an app, and head over to the Keys and tokens section. From there grab your API Key, Secret, Access token, and secret.

Twitter API Keys
Step 2: Set up your code
You first need to install serverless and AWS. Assuming that you already have an AWS account, you will need to add the AWS key and secret to your local env. If you are interested in creating profiles, I have a small section about it in this post.
You can get started with serverless using the commands below:
npm install serverless -g
serverless create -t aws-ruby -p twitter-haiku-bot
The AWS-ruby is a very basic template and you will need to modify the same a lot.
cd twitter-haiku-bot/
To get started, let's create a Gemfile in the project with the following Gems:
source 'https://rubygems.org'
gem 'twitter'
After that, we can do a:
bundle install
Now that we have the required gems, let's go ahead and create an environment config file for the dev called dev.env.json with the following details:
{
  "TWITTER_CONSUMER_KEY": "<your twitter api key>",
  "TWITTER_CONSUMER_SECRET": "<your twitter api secret>",
  "TWITTER_ACCESS_TOKEN_KEY": "<your twitter access token>",
  "TWITTER_ACCESS_TOKEN_SECRET": "<your twitter access token secret>"
}
From there, lets now move on to the code:
require 'json'
require 'twitter'

def bot(event:, context:)
  begin
    client = Twitter::REST::Client.new do |config|
      config.consumer_key        = ENV['TWITTER_CONSUMER_KEY']
      config.consumer_secret     = ENV['TWITTER_CONSUMER_SECRET']
      config.access_token        = ENV['TWITTER_ACCESS_TOKEN_KEY']
      config.access_token_secret = ENV['TWITTER_ACCESS_TOKEN_SECRET']
    end

    haiku = client.search('#haiku').first.text
    client.update(haiku)
  end
end
We now need to configure the serverless.yml file:
service: twitter-haiku-bot

provider:
  name: aws
  runtime: ruby2.5

custom:
  env: ${file(./${self:provider.stage}.env.json)}

functions:
  bot:
    handler: handler.bot
    events:
      - schedule: rate(6 hours)
    environment:
      TWITTER_CONSUMER_KEY: ${self:custom.env.TWITTER_CONSUMER_KEY}
      TWITTER_CONSUMER_SECRET: ${self:custom.env.TWITTER_CONSUMER_SECRET}
      TWITTER_ACCESS_TOKEN_KEY: ${self:custom.env.TWITTER_ACCESS_TOKEN_KEY}
      TWITTER_ACCESS_TOKEN_SECRET: ${self:custom.env.TWITTER_ACCESS_TOKEN_SECRET}
The bot is now configured to run every 6 hours and post a Haiku on the account.
Step 3: Deploy
So let's deploy:
sls deploy
This takes time and once it is deployed you can invoke the function using:
sls invoke -f bot
If everything runs fine, you should see a Haiku posted on your account like this:

Haiku Tweet
Troubleshooting
If not, this is the most common error that you will see:

Error Message
For someone just starting out, this bug is annoying and there is a lot of discussion in the forums about how to solve it. However, after much trial and error, this is the solution that worked for me, serverless-ruby-package:
npm install --save-dev serverless-ruby-package
In the serverless.yml file added the following:
plugins:
  - serverless-ruby-package
package:
  include:
    - handler.rb
    - lib/**
Added the following lines on top of handler.rb file:
# handler.rb
load "vendor/bundle/bundler/setup.rb"
$LOAD_PATH.unshift(File.expand_path("lib", __dir__))
Post this I just deployed the serverless function again:
sls deploy
Now I have a bot that runs every 6 hours and posts a haiku if it finds it suitable. You can find and follow my bot here:
https://twitter.com/HaikuDaily3

Bot Profile
So what bot are you creating today? Let me know in the comments and we can follow each other.


